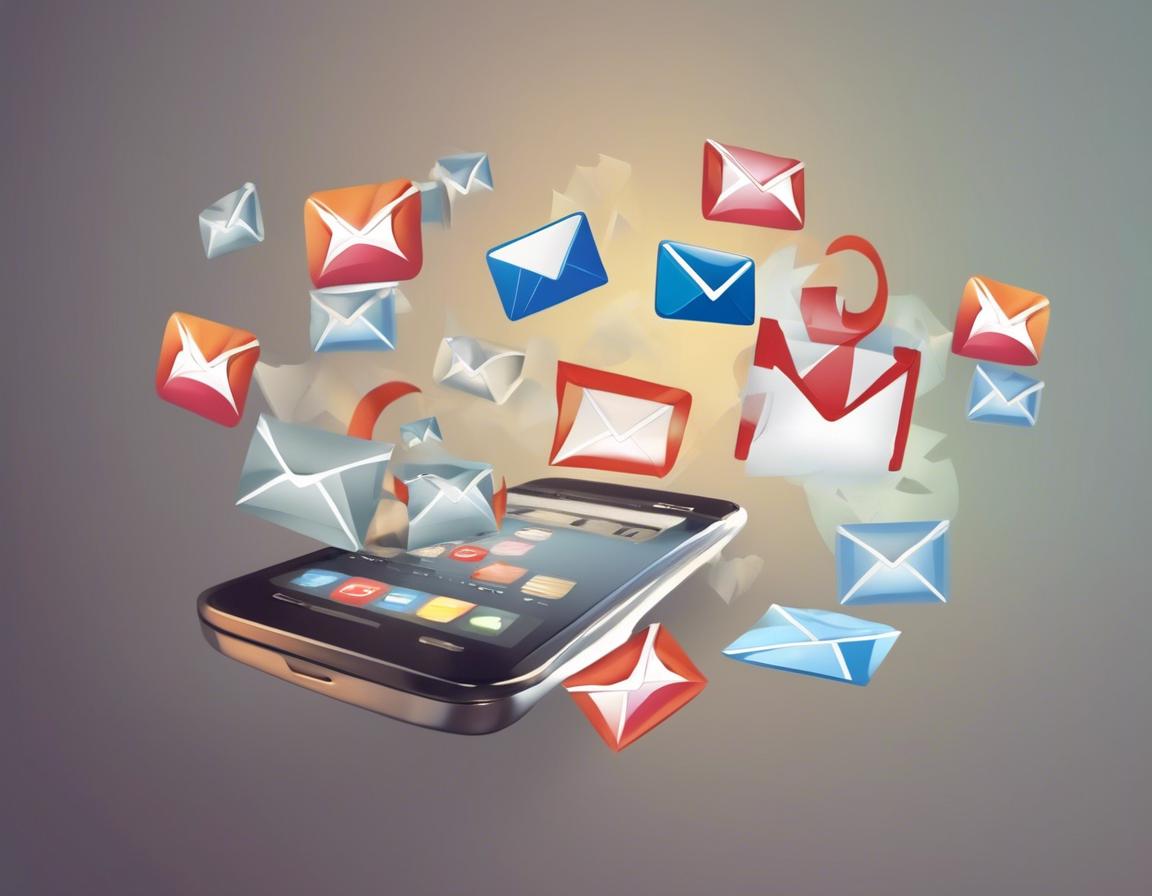
How to Set Up Email on Your Cell Phone
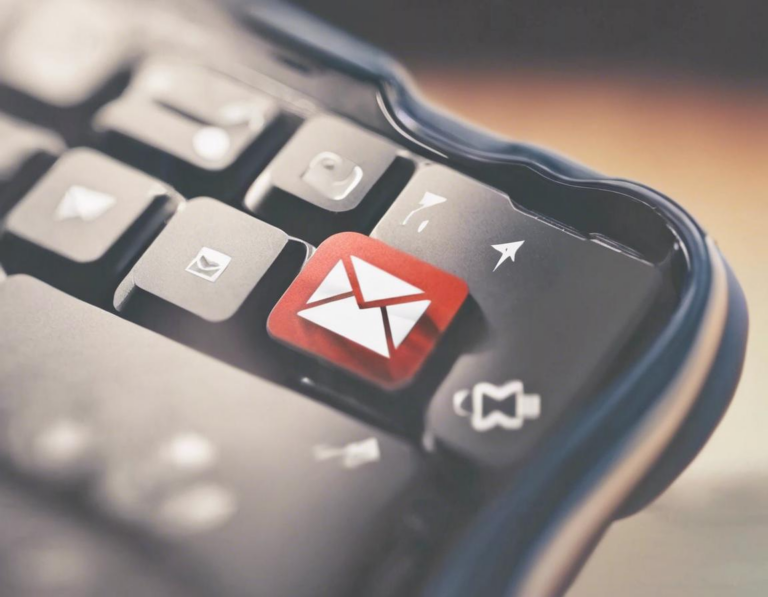
Staying connected in today’s fast-paced world is essential, and having access to your email on your phone is a key part of that. Whether you’re checking work messages, catching up with friends, or managing online accounts, knowing how to set up email on your cell phone can make your life much easier. This comprehensive guide will walk you through the process step-by-step, regardless of your phone’s operating system or email provider.
Understanding the Basics
Before diving into the specifics, let’s first understand the fundamental concepts involved in setting up email on your phone.
- Email Address: Your unique identifier used to send and receive emails. This includes your username (usually your name or email alias) and domain (e.g., @gmail.com, @yahoo.com).
- Email Provider: The service that hosts your email account and manages your incoming and outgoing messages. Popular providers include Gmail, Yahoo Mail, Outlook, and iCloud Mail.
- Incoming Mail Server (IMAP/POP3): The server where your emails are stored and retrieved from.
- Outgoing Mail Server (SMTP): The server that sends your emails to their recipients.
- Email Client: The app on your phone that allows you to access and manage your emails.
Setting Up Email on Android Devices
Android phones offer a straightforward process for configuring your email accounts. Here’s how to do it:


- Open the Email App: Locate the “Email” or “Gmail” app on your Android phone and open it.
- Add Account: Tap on the “Add Account” button, usually located in the upper right corner of the screen.
- Choose Email Provider: Select your email provider from the list. Most popular providers like Gmail, Outlook, and Yahoo Mail are pre-populated.
- Enter Your Email Address and Password: Enter the email address and password associated with the account you want to set up.
- Configure Settings (if necessary): If your email provider isn’t pre-populated or requires manual configuration, you may need to enter the following information:
- Incoming server (IMAP or POP3): Check your email provider’s website for the correct server address.
- Outgoing server (SMTP): Again, check your email provider’s website for the correct address.
- Port numbers: Your provider may specify port numbers for both incoming and outgoing servers.
- Security settings: Choose between “SSL/TLS” or “None” based on your provider’s instructions.
- Sync Your Email: Once you’ve entered all the necessary details, tap on “Next” or “Done.” Your phone will now attempt to sync your email account.
Setting Up Email on iOS Devices
Setting up email on your iPhone or iPad is just as easy as on an Android phone:
- Open the Mail App: Launch the “Mail” app on your iOS device.
- Add Account: Tap on “Add Account” in the “Accounts” section.
- Choose Email Provider: Select your email provider from the list. If your provider isn’t listed, you can choose “Other” to manually configure the account.
- Enter Your Email Address and Password: Provide the email address and password associated with the account you want to add.
- Configure Settings (if necessary): If you chose “Other” or if your provider requires manual configuration, enter the following details:
- Name: Enter your name as you want it to appear in sent emails.
- Email: Enter your email address.
- Password: Enter your email password.
- Description: Optionally add a description for your account.
- Incoming server: Enter the correct IMAP or POP3 server address (check your provider’s website).
- Outgoing server: Enter the correct SMTP server address (check your provider’s website).
- Port numbers: Check your provider’s website for the appropriate port numbers.
- Security settings: Choose between “SSL/TLS” or “None” based on your provider’s instructions.
- Sync Your Email: Once you’ve entered all the necessary information, tap on “Next.” Your device will now try to sync your email account.
Setting Up Email on Other Mobile Devices
Even if you have a phone that’s not Android or iOS, setting up email is still relatively straightforward. Most phone manufacturers include their own email app, similar to the ones we’ve discussed above.
- Check Your Device’s Manual: The best resource for setting up email on your specific phone is its user manual. You can usually find a downloadable copy online or refer to the manual pre-installed on your device.
- Contact Your Phone’s Manufacturer: If you can’t find the information in the manual, reach out to your phone’s manufacturer’s customer support for assistance.
Choosing the Right Email Client (Android)
While most Android phones come with a pre-installed email app, you have the option of using other email clients that offer more features and customization options.
- Gmail: If you have a Gmail account, the official Gmail app is a great choice. It offers a clean interface, robust search functionality, and access to Google’s other services like Google Drive and Calendar.
- Outlook: If you’re primarily using an Outlook.com account, the Outlook app is a solid option. It integrates seamlessly with Microsoft’s cloud services and provides features like task management and calendar syncing.
- Blue Mail: A popular third-party email client, Blue Mail offers customization options, including themes and swipe gestures for quick actions.
- Inbox by Gmail: This was a highly-regarded email app from Google, but it was discontinued in 2019.
Choosing the Right Email Client (iOS)
iOS users have fewer choices when it comes to email clients, as Apple limits app functionality. The default “Mail” app is generally sufficient, but if you prefer more flexibility, there are alternatives.
- Spark: A highly-rated email app that focuses on organization and productivity, Spark offers features like smart notifications, snoozing emails, and collaborative inboxes.
- Edison Mail: Edison Mail focuses on privacy and offers features like email tracking, email unsubscription, and a built-in calendar.
Troubleshooting Common Email Setup Issues
Sometimes, email setup can be tricky. Here are some common issues and their solutions:
- Incorrect Server Address: Double-check the incoming and outgoing server addresses, port numbers, and security settings. Use your email provider’s website for the correct information.
- Invalid Credentials: Ensure you are using the correct email address and password for your account.
- Network Connectivity: Make sure your phone has a stable internet connection.
- Outdated Email Client: Check if your email app is up to date. Newer versions often include bug fixes and improved compatibility with email providers.
- Provider-Specific Issues: Some email providers may have unique settings or restrictions. Refer to your provider’s help center for specific instructions.
- Contact Your Email Provider: If you’re still unable to resolve the issue, contact your email provider’s customer support for assistance.
Security Tips for Email on Mobile Devices
Keeping your email safe on your mobile device is essential. Here are some security tips:
- Use a Strong Password: Choose a strong, unique password for your email account. Avoid using common words or personal information.
- Enable Two-Factor Authentication: Add an extra layer of security by enabling two-factor authentication, which requires you to enter a code from your phone in addition to your password when logging in.
- Be Cautious of Phishing Attempts: Be wary of suspicious emails or links, and never provide your email credentials to unfamiliar websites or individuals.
- Keep Your Software Up to Date: Regularly update your phone’s operating system and your email app to patch security vulnerabilities.
- Use a Virtual Private Network (VPN): A VPN encrypts your internet traffic, making it harder for hackers to intercept your data.
Using Your Email Account on Your Phone
Once you’ve set up your email account on your phone, you can use it to send and receive emails, manage your inbox, and even access other features like calendars and contacts.
- Sending Emails: Compose and send emails just like you would on a computer. You can attach files, add recipients, and use different email formatting options.
- Receiving Emails: Your phone will notify you of new emails, and you can read, reply to, and manage them directly within the email app.
- Email Organization: Use folders, labels, and filters to organize your emails and keep your inbox tidy.
- Calendar and Contacts Integration: Many email clients integrate with calendar and contact apps, allowing you to schedule meetings and manage your contacts easily.
Conclusion
Setting up email on your cell phone is a simple process that can significantly enhance your mobile experience. By following the steps outlined in this guide, you’ll be able to access your email from anywhere and stay connected to your digital life. Remember to prioritize security and choose an email client that meets your needs. With the right setup, your phone can be your most valuable tool for managing emails and staying informed.


