Step by Step Guide for iPhone Cell Phone Setup
Getting a new iPhone can be exciting! But before you can start exploring apps, taking pictures, and connecting with loved ones, you need to set it up. This step-by-step guide will walk you through the entire process, from turning on your iPhone to customizing it to your liking.
1. Turning on Your iPhone and Setting Up the Language
The first step is to power on your iPhone. You’ll find a small button on the right side of your phone. Press and hold it until the Apple logo appears. Once your iPhone is on, you’ll be greeted with a welcome screen. The first thing you’ll need to do is choose your preferred language. Scroll through the list and tap on your chosen language.
2. Connecting to Wi-Fi for Faster Setup
To ensure a smooth and fast setup process, connect your iPhone to a Wi-Fi network. This allows your device to download necessary software updates and settings. Locate the Wi-Fi icon on the screen and tap it. Choose your Wi-Fi network from the list and enter the password when prompted.


3. Setting Up Apple ID for Seamless Access to Apple Services
An Apple ID is your key to unlocking all the amazing features of your iPhone. It allows you to access services like iCloud, App Store, Apple Music, and more. If you already have an Apple ID, simply sign in with your credentials. If you’re new to Apple, tap on “Create New Apple ID” and follow the on-screen instructions.
4. Enabling Face ID or Touch ID for Enhanced Security
Face ID (for newer iPhone models) or Touch ID (for older models) provides an added layer of security for your iPhone. When enabled, your phone will unlock only after recognizing your face or fingerprint. Follow the on-screen prompts to set up Face ID or Touch ID. This process involves taking a series of photos or scans of your face or fingerprint.
5. Setting Up iCloud for Syncing Your Data Across Devices
iCloud is Apple’s cloud storage service that allows you to sync your data across all your Apple devices. This means that your photos, contacts, messages, and more will be available on your iPhone, iPad, Mac, and other Apple devices. During setup, you’ll be prompted to choose an iCloud storage plan. You can opt for a free plan or choose a paid plan with more storage space.
6. Transferring Data from Your Old iPhone
If you’re upgrading from an older iPhone, you can easily transfer your data to your new iPhone. During setup, your iPhone will prompt you to use “Quick Start” to transfer data wirelessly. Simply bring your old iPhone close to your new iPhone and follow the prompts on the screen.
7. Customizing Your Home Screen with Widgets and Apps
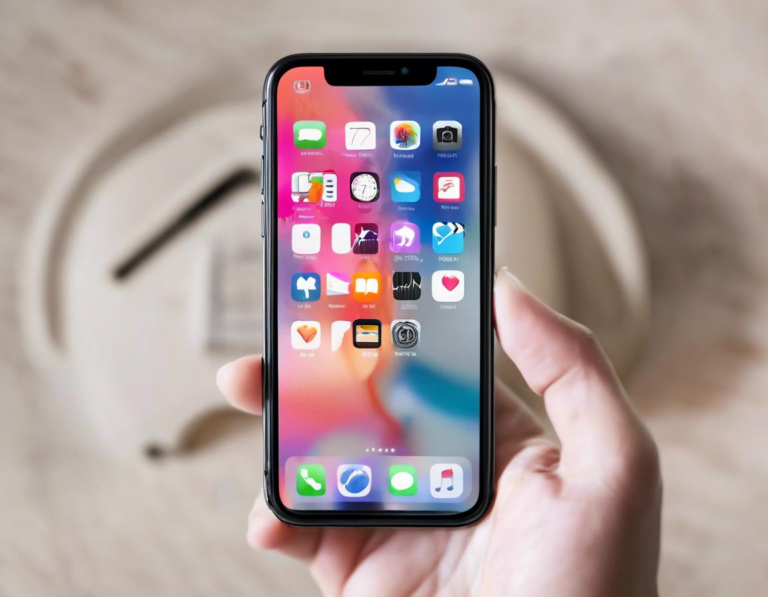
Once your iPhone is set up, you can start customizing your home screen. You can rearrange your apps, add widgets for quick access to information, and create folders to organize your apps. To add or rearrange apps, simply press and hold on the home screen until the icons start to wiggle. Then you can drag and drop them to your desired location.
8. Exploring the App Store and Downloading Your Favorite Apps
The App Store is your gateway to millions of apps, games, and other digital content. You can find a wide variety of apps, from productivity tools to social media platforms and entertainment apps. Browse the App Store, search for specific apps, and download the ones that you find interesting.
9. Setting Up Notifications and Sounds
Notifications are important for staying informed about updates, messages, and more. You can customize notification settings for each app to choose how you receive them. You can also adjust the sounds and vibration settings for notifications to your liking.
10. Connecting Your iPhone to Bluetooth Devices
Bluetooth allows you to connect your iPhone to wireless accessories like headphones, speakers, and car stereos. To connect a Bluetooth device, go to Settings > Bluetooth and turn Bluetooth on. Then, put your Bluetooth device in pairing mode and select it from the list on your iPhone.
11. Utilizing Apple Pay for Contactless Payments
Apple Pay is a convenient and secure way to make contactless payments using your iPhone. To set up Apple Pay, go to Settings > Wallet & Apple Pay. You can then add your debit or credit cards to your wallet and use them for purchases.
12. Exploring Accessibility Features for Enhanced User Experience
Apple provides a range of accessibility features to make using your iPhone easier for everyone. These features can help people with disabilities, including vision, hearing, and mobility impairments. You can find accessibility features in Settings > Accessibility.
Conclusion
Setting up a new iPhone is a simple process that allows you to personalize your device and start using its amazing features. This guide has covered the essential steps, from turning on your iPhone to connecting it to your preferred accessories. Remember to take your time, explore the different settings, and customize your iPhone to your liking. Now you’re ready to enjoy the world of possibilities that comes with owning an iPhone!


